Thursday, September 29, 2011

Pressure Cooker Chicken Stock [Zack]

Chicken stock is a really special thing to make in the kitchen.  It costs you next to no money to make, but once you have it on hand, it feels as precious as gold.  I never would have imagined that I would become "stingy" with such an inexpensive ingredient, carefully apportioning and rationing the stock to each dish I make - it's not like it's black truffle.

Something funny occurred to me while writing this post: in the past very poor people used to use the carcasses of their chickens to stretch out their food and stay alive.  They would make stews to squeeze out the last nutrients from the animals they had raised.  These days, it's used as a flavor booster or a sauce enhancer in the fanciest of restaurants.  It seems like the "from scratch" cooking went from being necessary and entirely common, to a rare luxury.

Personally, one reason I love this ingredient because I got to (finally) teach my mom something in the kitchen.  I learned most of my cooking growing up in the family kitchen, doing small tasks and observing.  But making chicken stock as part of my cooking routine is something that I got to share with my mom.  Each time we talked, I would go on and on about how great making stock was, but she had a bad experience when she started cooking it.  I finally convinced her to make the stock again, and now we talk about different ways to use the stock in almost every conversation we have.

I've been experimenting with my pressure cooker because it seems to greatly speed up cooking times.  I looked online and using a pressure cooker didn't seem like a very popular method to make stock, so naturally I gave it a shot.  It amazed me that this method produced a really deep and dark stock in 1/3 of the time.  If you don't have a pressure cooker, just simmer the whole shebang for 3 hours, then strain.  Michael Ruhlman also has thought up a really creative shortcut to making a carefree stock that I will post on later.


Process:

Gather all of the bones and whatever is left over from your roasted chicken.  You can either save the bones in the freezer like I do, or you can make the stock right after dinner.


Place them in your pressure cooker and add the carrots, celery, garlic, black peppercorns, and onions.


Pour water over the bones, put the pressure cooker on high heat to let it come to an easy boil.  Let it go for 5 minutes and then skim off any funky looking foam and fat.  You can do this by dipping the edge of the spoon against the side of the pot.  To make it even easier, you can move the pot so only one corner is over the heat source.  All of the undesirables will appear on the opposite side of the pot.


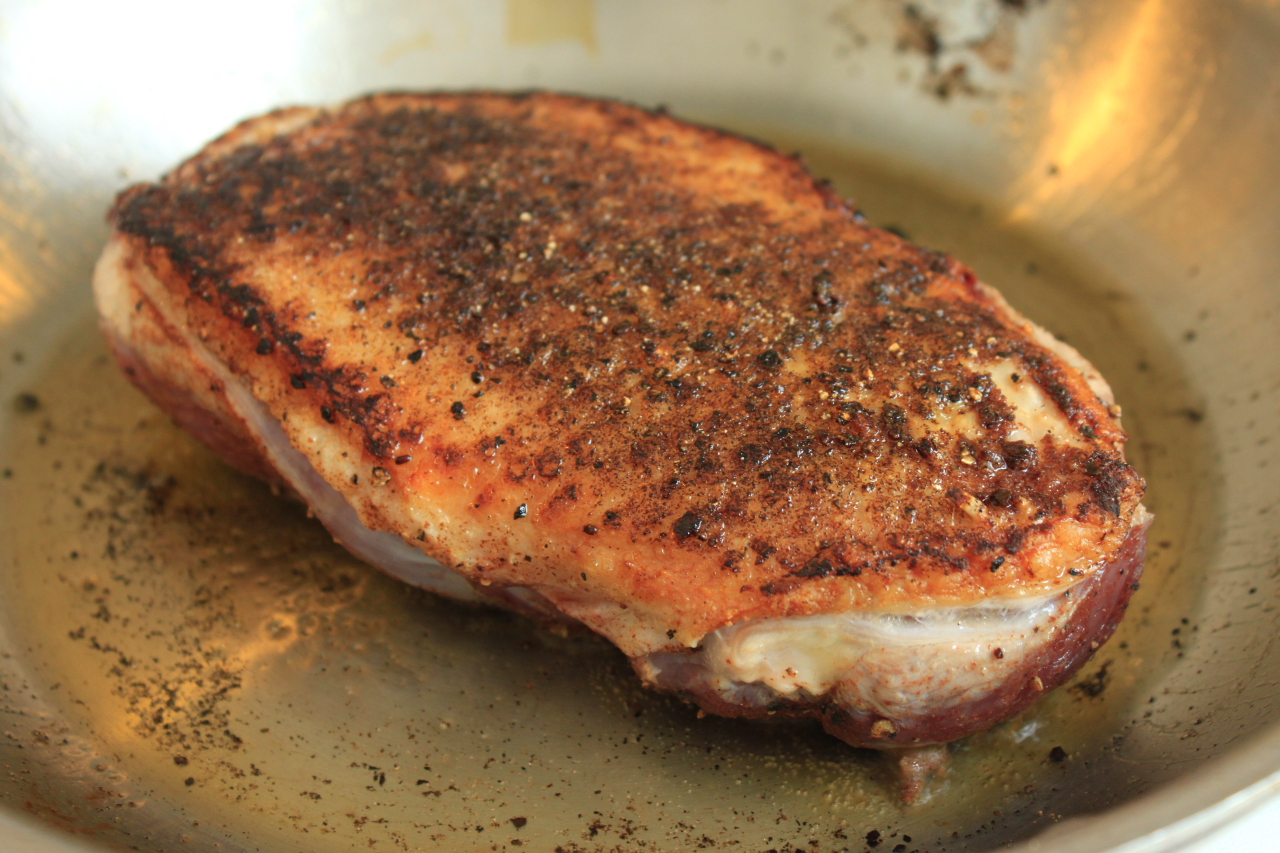
(Notice that I have a mix of raw and cooked chicken parts - I had saved the backbones from my spatchcocked chickens.  If you use all unroasted bones, it's called a white stock.  I suggest using whatever you have on hand.)

Place the lid of the pressure cooker on and make sure it seals.  Add the pressure regulator cap and turn the heat down to medium-low.  Let it hiss for 45 minutes and then take it off the heat.  Let the pressure reduce naturally (should take about 15 minutes).


Make sure the cooker is de-pressurized before you open the lid.  The stock should smell like an intense chicken noodle soup.


Pick out the big bones and veggies with tongs and then strain the stock into another pot.  Rinse your pressure cooker and then strain the stock back into it.  For the second strain, you can use cheesecloth in the strainer if you have some, but my fine mesh strainer works well enough for me.

Reduce the stock down until it’s concentrated.  I suggest not adding any salt since you don’t know how you are going to use the ingredient in the future.  Unless you are using it within a few days and want to keep it in the fridge, you can freeze it in a few ways.  My mom loves freezing it in ice cube trays and then keeping the cubes in the freezer in ziplock bags.  I just pour the finished product into jars and place them in the freezer.  Don’t overfill the jars with the stock – the liquid will expand when you freeze it.


If you let it defrost after a few hours it will become just like Jell-o (because of the collagen in the bones) and the fat will solidify on the top.  This makes it easier to remove the fat – just scrape it off with a spoon. 

Ingredients:

Roasted bones of 2 chicken carcasses
1 medium onion
1 large carrot
1 stick celery
Small handful of black peppercorns
Water to cover the bones

Hopefully all of that rambling convinced you to try to make stock.  It's almost free and I can gaurentee it will elevate your cooking game.  It makes amazing soups, great fancy French sauces, and adds depth so you can swap out some of the heavy cream required for sauces.  Plus it's totally badass when you can say you made a soup totally from scratch.

Song to jam to:  George Michael - Careless Whisper

Tuesday, September 27, 2011

"Tastes Like Chipotle," he exclaims. [Rhonda]


Degree of difficulty: way easy
Time: 20 minutes total
Serves: 2 with leftovers

This is a dump-and-go version of my sister-in-law Connie's wonderful black bean dish she served when I visited in late August. She's a terrific cook, and the beans she made, which she served over rice as a side dish, were shakin' with the heat of cayenne, fragrant with cumin. It satisfied all my spice cravings for the night. Why I didn't turn to her right then and ask for the recipe is crazy. (Maybe it had something to do with the non-stop entertainment and energy-fest provided by their two little girls Kristi, 7, and Alena, 2.)


Last night found nothing on the Mike-and-Rhonda menu, so, rooting through the cabinet I came across a can of black beans, some diced tomatoes, and rice, and thought of Connie's meal. A little onion, garlic, splash of wine, and lime for the rice and it was a nice, healthy dinner with very little prep time.

Black Beans and Rice
Ingredients:

1 15 ounce can black beans, partially drained
1 14.5 ounce can diced all natural tomatoes, partially drained
1 small onion, chopped
2 cloves garlic, minced
1 tablespoon olive oil
1/4 cup dry white wine
3 cubes frozen homemade chicken stock (optional--if not using, don't drain the beans and tomatoes and use those liquids in the mix)
1 teaspoon thyme
2 tablespoons cumin
1 tablespoon chili powder
1 teaspoon to 1 tablespoon cayenne, depending on how hot you like things (I went big)
1 lime
1 tablespoon chopped cilantro
Rice: cooked according to package directions. Just before serving, add the zest of 1 lime, the juice of 1 lime, and a tablespoon of finely-chopped cilantro if you have it.

(Additions to top the beans: sauteed onion and red or green peppers, sour cream, avocado, salsa, grated jack cheese. Think of what you like best in the Chipotle line.)


Saute the onion and garlic in the olive oil. Add the wine, reduce down a bit. Add spices, stir, and stock, if using. Add beans, tomatoes. Simmer on low heat for 15 minutes. Serve over rice.

Suggested soundtrack: "Freeze" by T-Pain and Chris Brown

Monday, September 26, 2011

Honey-Ginger Grilled Peaches & Pork Chops [Tom & June]


Here’s a quick and easy glaze that works for the peaches (as a side or dessert) and also your entrĂ©e.

3/4 Cup Honey
¾ tsp Grated Ginger
4 Tbsp Orange Juice
3 Tbsp Rum (optional)
2 Peaches, pitted & cut in quarters
2-4 Pork Chops
4 Wooden or Metal Skewers. (if using wood, soak in water for 15 minutes)

In a small saucepan, heat the honey and ginger over low heat. When hot (not boiling) remove from heat and stir in orange juice and rum.

Place peaches in a shallow dish and pour half of the mixture over peaches. Cover and marinate for 1 hour.

Drain peaches and thread onto skewers.

Salt & pepper pork chops. Grill until almost done. Brush with glaze and continue to cook each side for a few minutes until caramelized. While pork chops are caramelizing, put peaches on grill and grill until golden brown adding a little more glaze as they cook.
We found some beautiful leeks at the store and thought they might be kind of fun to grill too. We added some olive oil, salt & pepper and threw on the grill. It was a nice touch.

Sunday, September 25, 2011

Sole Meuniere --A $30 entree for $4.21 [Rhonda]


Degree of difficulty: medium

Time: traveling to the seafood market is the most time-consuming part...prep 10 minutes, cook time 5 minutes total

Serves: 1 (Mike doesn't eat fish, so this is a solo entree. But there's usually a bit left over for a raid-the-refrigerator snack. He's always teasing me about my extravagant plating--the garnish, the accompaniments--for one, namely, me. Hey, nothing wrong with that. At all.)


Italians and the French have cornered the market on this dish.

I ordered it constantly when Mike and I would dine out in Manhattan, in Paris, where it came whole (yikes, I'm not so good at de-boning tableside), and in Italy, where the Nona in the kitchen made it explode with flavor by adding a sprinkle of capers while the sauce was reducing and a squeeze of lemon just before serving.

While my at-home version is quite decent, there's something about those restaurant pans and a quick sizzle in loads of butter that yield heavenly results. It's a recipe worth repeating--and varying. Leave out the almonds and add a handful of fresh, diced tomatoes, maybe some basil, or go Mediterranean and throw in some diced pitted black olives with the tomato.

Over time I've experimented by adding a couple of frozen homemade chicken stock cubes to the wine and butter and cooking it down a bit. It gives good flavor, so you use a little less of that naughty butter.

Sole Meuniere
Ingredients:


1/2 pound fresh fillet of sole
3 to 4 tablespoons butter
1/4 cup dry white wine
1 lemon, juiced
1/4 cup (or less) flour
1/4 cup raw whole almonds, chopped
4 sprigs parsley--2 minced, 2 for garnish
3 frozen cubes chicken stock, optional
1 tablespoon capers, optional

Rinse off the fillets, shake dry. Take a smidge of the butter and brown the chopped almonds in it.

Remove from pan, set aside. Melt the remainder of the butter in the pan. Dust the fillets in the flour, and place in the sizzling butter. Brown. (This is the tricky part. You want the fish nicely browned, but not cooked to the point of mushy.)

Remove fillets to a warm plate.

Add wine and chicken stock cubes, if using, to the pan. Reduce by about 1/3. Add some of the lemon juice, and taste the sauce. Add more lemon if needed, and capers if using (or tomato and basil etc.). Reduce for 1 minute. Taste sauce and adjust seasoning (may need a dash of salt or more lemon).

Add minced parsley, stir and pour over the fillets. Sprinkle with chopped almonds. Serve immediately.

Suggested soundtrack: Chopin's "Nocturne in B-flat Minor," Op. 9, No.1. (The guys will recognize this as one of Mom's favorites to play on the piano--they've heard it a million times. Still in my Top Ten.)

Quick Pickles [Zack]

Don't have time to let some gorgeous pickles cure in your fridge?  Here is a solution that will get you by in a pinch.  The combination of spices and vinegar makes a tangy addition to your meal.  In order to make up for the lack of the curing process, you leave out the water portion of the original cure and let the vinegar shine through.


Process:

Slice the cucumber really thinly.  Use a mandolin if you have one.  Place them in a container with a lid (so you can shake em up later) and pour the vinegar over to coat.


Next, add in the cumin seeds, coriander powder, hot pepper flakes, honey, and salt.


Cover and gently shake up to mix contents.


Keep in the fridge until ready to serve!  Goes great on a sandwich, or as a side to a meat dish.

Ingredients:

1 large cucumber sliced thinly
8 T tarragon or other vinegar
1 T cumin seeds
1 T coriander powder
1 tsp hot pepper flakes
1 tsp salt
1 T honey

Saturday, September 24, 2011

The best grilled cheese sandwich [Mike]


The Grilled Cheese Sandwich… Everyone’s reinventing it… including restaurants. Like Gooeyz, down near campus at Ohio State. Or the new chain of grilled cheese restaurants that add ingredients: veggies, Mediterranean cheddar, pesto, black olives, pastrami, salami, bacon of course…even sauerkraut.

Why can’t they leave a good thing alone!

The best grilled cheese sandwiches ever were made by my mother. Simple… easy… quick… great tasting. Here’s all it took. Two slices of Wonder Bread, couple of slices of Kraft’s single slice American cheese, a tab of butter, and an unusual round toasting utensil she used to toast the sandwiches over a gas stove.


With my 3 brothers … Mom couldn’t make them quick enough!

Saturday, September 17, 2011

Venetian / Belgian Bar Lasagna [Zack]

I had some leftover ragu bolognese   I was wondering what to do with it when an idea struck.  It would make an interesting lasagna!   Since I was already far from traditional lasagna with the cinnamon, I decided to add one more twist. There is a small Belgian bar that only bothers to make spaghetti bolognese as their entire food "menu." They add swiss Gruyere cheese to the top of it and it's really tasty.  A good amount of the cheese will take your lasagna to the next level!

This lasagna recipe is inspired by both a beautiful tagliatelle ragu that we ate in Venice and a simple bowl of spaghetti bolognese served at a bar. From this juxtaposition of influences, a fun and tasty lasagna was born.


Process:

Start by preparing the ragu rolognese. Brown the ground beef and pork in 2 T of olive oil in a stock pot over medium heat. Make sure to do this in batches so you don’t over-crowd the pan and boil the meat. Take out the browned meat and put on a plate and sweat the veggies in the same pot until they become translucent and then develop color. Add the meat back in and add the can of crushed tomatoes, red wine, and cinnamon and let simmer for an hour or 2. Once you have reduced the sauce until it’s mostly just meat and veggies, add in the milk and stir. It should provide nice depth and sheen.

Alternatively, you can buy a quality jar of ragu and add cinnamon (and wine if it needs it).

Make pasta dough according to these instructions (or you can use store-bought lasagna sheets). While your dough is out of the fridge and resting, start the Bechamel sauce.
Add the butter for the bechamel sauce to a sauce pan and let it melt. Add in the equal part of flour to the pan and whisk until it looks like a paste. Cook gently on low until it’s toasty and brown and smells great. You just made a simple brown roux!


Once this is done, slowly whisk in the whole milk until you have a uniform but thick sauce that coats the back of a spoon. Then stir in your grated parmesan reg and take off the heat.


Start a large pot of water boiling and roll out your pasta into long sheets and cut them to the size of your lasagna dish. Flour both sides of the pasta and pile them up to save space. You have to cook the pasta before you put it in the lasagna, or else the pasta will be crunchy and not that fun. 

Set up an ice bath before you start boiling the pasta. Quickly add the sheets one by one to make sure they are separated into salted boiling water. Since the pasta is fresh, you only have to cook it for 1 minute (if you are using dried pasta, cook to al dente according to the back of the box).


Strain into a colander and then place in an ice bath for 1 minute to stop the cooking. Strain again and toss with some olive oil so the sheets don’t stick together.

In your lasagna dish, put a layer of both sauces on the bottom, then put a layer of pasta.


Next, add sauce, then add lots of grated Swiss cheese, a handful of parmesan reggiano, then the pasta.


Repeat until the top layer. Only add the bĂ©chamel and plenty of Swiss cheese so it can brown nicely in the oven. Put it into a pre-heated oven at 200C/400F and bake uncovered until it’s browned and bubbly. Cut and serve!


Ingredients

Venetian Ragu Bolognese: (yields a lot!)
1 lb ~90% Ground Beef
1 lb Ground Pork
¼ cup Diced Carrots
½ cup diced onions
¼ cup diced celery
1 T cinnamon powder or 2 cinnamon sticks (extract sticks when finished)
1 28 oz can crushed tomatoes
1 glass red wine
½ cup whole milk

Fresh pasta:
Flour
3 eggs
Sea salt

Bechamel Sauce:
3T butter
3T flour
1 cup whole milk
½ cup grated parmesan reggiano

2 cups grated swiss cheese
1 cup grated parmesan reggiano


Song:  D'Angelo - Smooth

Monday, September 12, 2011

Cheryl's Ice Cream Cake [Rhonda]


Degree of Difficulty: so easy a toddler could be your sous chef on this

Time: 10 minutes to let ice cream soften, 10 minutes to assemble

Serves: 10

First off, who the heck is Cheryl?

That would be Cheryl Pollack, one of the prettiest blondes to ever walk the planet, a buddy from TV commercials and modeling days who wound up in Ridgefield, CT, not far from our place in South Salem.

She prefers being a photographer now, capturing exquisite portraits of children. Back in the day, all the photographers' lenses were trained on her.

This ice cream cake can go in a thousand different directions, depending on quality of ice cream and the flavors you pick. And, of course, presentation. Finish out a summery meal with it or claim it as a Christmas beauty (feather the warm chocolate sauce with a toothpick and a squirt of raspberry sauce or heavy cream and they'll think you're Iron Chef).

Boys, you'll have to shop ahead for a springform pan. Don't wait until the ice cream's running everywhere to hit Target. But look at it this way. It's a make-ahead kind of thing that serves a lot of people, tastes great, and can be pinkie-up with a few adjustments. (Remember. Feather that sauce.)

Cheryl's Ice Cream Cake
Ingredients:


9 1/2 inch springform pan

1 box Famous Chocolate Wafers, ground up into crumbs
2 quarts ice cream--coffee and chocolate are sensational
1 12-ounce bag of Heath Bits of Brickle (can't find it? smash up some Heath bars as a decent sub)

Chocolate sauce:
8 ounces semisweet chocolate
1/2 pint heavy cream
1 tablespoon dry instant coffee
1 tablespoon cocoa (optional--I like a bitter bite to my chocolate sauce)

While the ice cream is softening, make the chocolate sauce by dumping those four ingredients in a sauce pan and heating until chocolate is melted. Stir. Set it aside and don't eat it.

Lightly oil the springform pan. Put 1/2 of the wafer crumbs on the bottom, then 1 flavor of ice cream on the crust, then 1/3 of the sauce over that layer, then more crumbs, then second flavor of ice cream. Spread another 1/3 of the chocolate sauce over that, add crumbs, some sauce, then top with brickle, cover, and freeze.

Heat the last third of the chocolate sauce to pour over when cut and served. Remember to feather in a little heavy cream if you're looking for fancy.

Suggested soundtrack: Lady Gaga's "Edge of Glory." I know, I know. Bleckkk. But it keeps playing in my head. And this is a glorious dessert.

Wednesday, September 7, 2011

Hoisin Duck Breast Salad [Zack]

Any time I order duck at a restaurant, it's either an amazing dish, or it's tough and not that tasty.  I think that most of it has to do with how it's cooked and the quality of the meat.  All of the fancy restaurants serve their duck breasts medium-rare (like a nice steak) and this seems to be one of the main keys to success.

This salad is different than your normal mixed greens vinaigrette.  The toughest part is judging when the duck breast is cooked, but you can always use a thermometer and let it come to 130F / 54C.

Process:

Start by taking the duck breast out of the fridge 30 minutes before you want to cook it so it comes to room temperature.  It will cook more evenly because it's an constant temperature throughout the meat (instead of being cold in the middle).  Put it on a plate and pat it dry so it will brown better in your pan.  You can score the skin in a cross-hatch pattern which would help it render more of the fat - I'll do this next time.  Rub it with paprika, salt, and pepper and set aside.


Dice up your ginger, shallots, and garlic.  In a small sauce pot on medium low heat, slowly sweat the shallots and ginger in the sesame oil.  After a few minutes, add the garlic and cook for an additional minute.


Then add in your hoisin sauce, vinegar, and sriracha.  Cook down for about 5 minutes so it's not runny and sticks to the spoon.


While the sauce is cooking down, put the ginger, garlic, shallot, chile, and vinegar to the food processor and blend until it's a smooth paste.  Then, add miso paste, honey, oils, and mayo in the food processor and blend again until you have a silky dressing.


Pre-heat your oven to 400F / 200C and start your oven-proof frying pan on medium low heat and let it come up to temperature for 10 minutes.  Add some sesame oil to the pan and place the duck breast skin side down.


Let the fat render for a few minutes until it's brown and crispy.


When the skin is nicely browned (in 6 - 9minutes), flip the duck breast over and coat with your hoisin sauce and sprinkle sesame seeds on top.


Place the whole pan into the oven and cook until medium-rare (6 - 10 minutes depending on the thickness of the meat).  Let it rest for 10 minutes so the juices distribute evenly through the meat and don't end up on your cutting board.  Slice thinly against the grain with your sharpest knife.


Toss your greens with the dressing and slice the avocado vertically and layer on top of the salad.  Add the sliced duck breast to the salad and go nuts with the sesame seeds!


Ingredients:
Serves 2-3 for a full meal or 4-6 for a small appetizer

1 duck breast with the skin on
paprika, salt, and pepper
Hoisin Glaze:
1/2 inch ginger
1 clove garlic
1 small shallot diced
2T Hoisin Sauce
1T Sriracha (or less if it's too spicy)
1/2 T Rice Wine Vinegar
1 tsp sesame oil

Salad Dressing:
1 T miso paste
2 T rice wine vinegar
1 T Kewpie Mayo
1/2 T honey
1/2 inch ginger
1 clove garlic
1 small shallot diced
1 small bird's eye chile
1 T sesame oil
2 T canola oil (or non-flavored oil)

Lettuce
1 avocado

Song to jam to:
Maxwell - Something Something