Showing posts with label Friends of MT. Show all posts

Sunday, March 15, 2015

Friends of MT: Old Fashioned Cocktail Mix [Melinda Caliendo]

Intro by Zack:  The Old Fashioned Cocktail is my recent go-to drink at a bar.  I've tried a lot of different interpretations by various bartenders and Mel's recipe is my favorite.  Her recipe balances the strength of whiskey with the sweetness / spice of the mix.  

Mel and Peter are our good friends who were ex-pats in Belgium with us.  We had many good nights talking and laughing over many meals.  They're always cooking up something adventurous and interesting. I hope you enjoy this drink mix as much as I did!!

Mel's Recipe:

My husband, Peter, and I have been cooking, drinking, photographing and sending ridiculous e-mails with Zack and Lauren for nearly seven years now … on two continents. Most recently, we spent a year-and-a-half as neighbors in Antwerp with the Koulermos, including two phenomenal New Year’s Eve parties. Peter and I wanted to whip up a special cocktail to ring in 2015, specifically using homemade Maraschino cherries. Our Old Fashioned cocktail mix is an homage to our Midwestern upbringing (Old Fashioned cocktails made with brandy are particularly popular in Wisconsin, my home state). Here are the easy recipes for Maraschino cherries, Old Fashioned mix, and a proper Old Fashioned cocktail.

1. The Cherries:
After making these, you’ll never use the atomic red ones from the grocery store ever again. Maraschino is a sweet, clear liquor from the Dalmatian Coast. You should be able to find it at any liquor store that has a reasonably sized spirits section. This recipe comes from Ted Allen.

Ingredients:
1 cup Maraschino liquor
1 pint sour cherries, stemmed and pitted, or a jar of sour cherries, drained
Yield:
One pint of cherries that will last in the fridge for a few months

Process:
Bring the cup of liquor to a simmer. Turn off the heat, but leave the pan on the stove. Stir in the cherries gently (you want whole cherries when you’re finished), and let cool completely. Store in a jar and refrigerate.


2. The Mix
Ingredients:
3 cups water
2.5 cups white sugar
3 clementine oranges, quartered
5 or 6 homemade Maraschino cherries
1 cinnamon stick
1 tablespoon of Angostura bitters (or more to taste)
Yield:
About 48 servings

Process:  Bring water and sugar to a boil in a saucepan; remove from heat. Stir oranges, cherries, and cinnamon stick into sugar mixture. Cover saucepan and steep for 1 hour. Remove fruit and cinnamon stick from mixture using a slotted spoon; stir in bitters. Let cool, then store refrigerated. Recipe adapted from Allrecipes.com.


3. The Cocktail
60 ml Bourbon, Rye whiskey, Brandy or classy spirit of choice
20-30 ml of Old Fashioned mix
2-3 ice cubes
2-3 dashes of bitters (or to taste)
Maraschino cherries, to garnish
Yield:
One delicious, sexy beverage.

Process:
In a rocks glass, combine the mix and the bitters. Add the ice cubes, then pour whiskey over. Garnish with cherries. 


Sip sophisticatedly. Or not.

Song: You Send Me - Sam Cooke

Monday, February 2, 2015

Friends of MT: Tincho’s Classic Caramelised Garlic Bruschetta with Roquefort [Tincho]

Intro by Zack:  Tincho does a great job explaining how we met in his post.  We became running buddies at work and our friendship took off from there.  His excitement for life is apparent in his post below.  He gave me a jar of this awesome caramelized garlic.  I couldn't contain myself and would sneak over to the fridge to eat these straight out of the jar!


Degree of difficulty: Easy
Time: 40 minutes to prepare the garlic, 10 minutes for the bruschetta
Serves: ~10 as an appetizer

I realised that I need to start my recipe with an Introduction. I’m afraid I don't have a funny one like the Bang Bang Shrimps (my introduction to this blog) but I will try something to capture the attention of the Koulermos family.

I met Zack thanks to our Johnson & Johnson Running Team in Brussels and I suddenly realised how enthusiastic he is with…. well, everything haha. We shared trainings, races (where I also met Lauren - another super enthusiastic person), beer tasting, photography, cycling and yes, cooking. I must admit that I was more on the ‘learner’  zone while Zack looked like a pro in most of the areas. I can still kick his ass drinking beer and doing long races like a marathon :)

Anyway, during the discussion of what to cook for his farewell, he mentioned the famous Bang Bang Shrimps, and the blog. I was like WTF are the Bang Bang but after tasting them, I can say that I agree with Justin (or whoever he is) that they are as good as sex. I even did it for Christmas and they were a unique success.

So, Zack showed us (the A team of running that includes Noemi and Dominika - two ladies also eager to take most of life and who also did the Amsterdam Marathon with me) the blog and encourage us to participate…  and I thought about my Classic Garlic Bruschetta.

I love this appetizer since the Garlic can be stored in a jar in the fridge and use it to welcome guests anytime. And the combination of flavours gives a lot with such a little effort. I took this recipe from a magazine and I’ve been cooking it for the last 3 years.
So here we go… hope you enjoy it.


Caramelised Garlic
Ingredients:
1)    1kg of garlic cloves peeled off like Mama Tommy’s logo (this is the only challenge of the recipe - see below (*1) )
2)    250 gr. of black sugar. (I reinforced black since it is not brown. This is the secret ingredient and I could not find it in Brussels so I was shipping it from Buenos Aires :))
3)    200 ml of balsamic
4)    200 ml of soy sauce
5)    Thyme - as much as you like
6)    Rosemary - as much as you like… again
7)    Olive oil - see quantity below

PS: I usually prepare less than 1kg of garlic since it could be too much but up to you

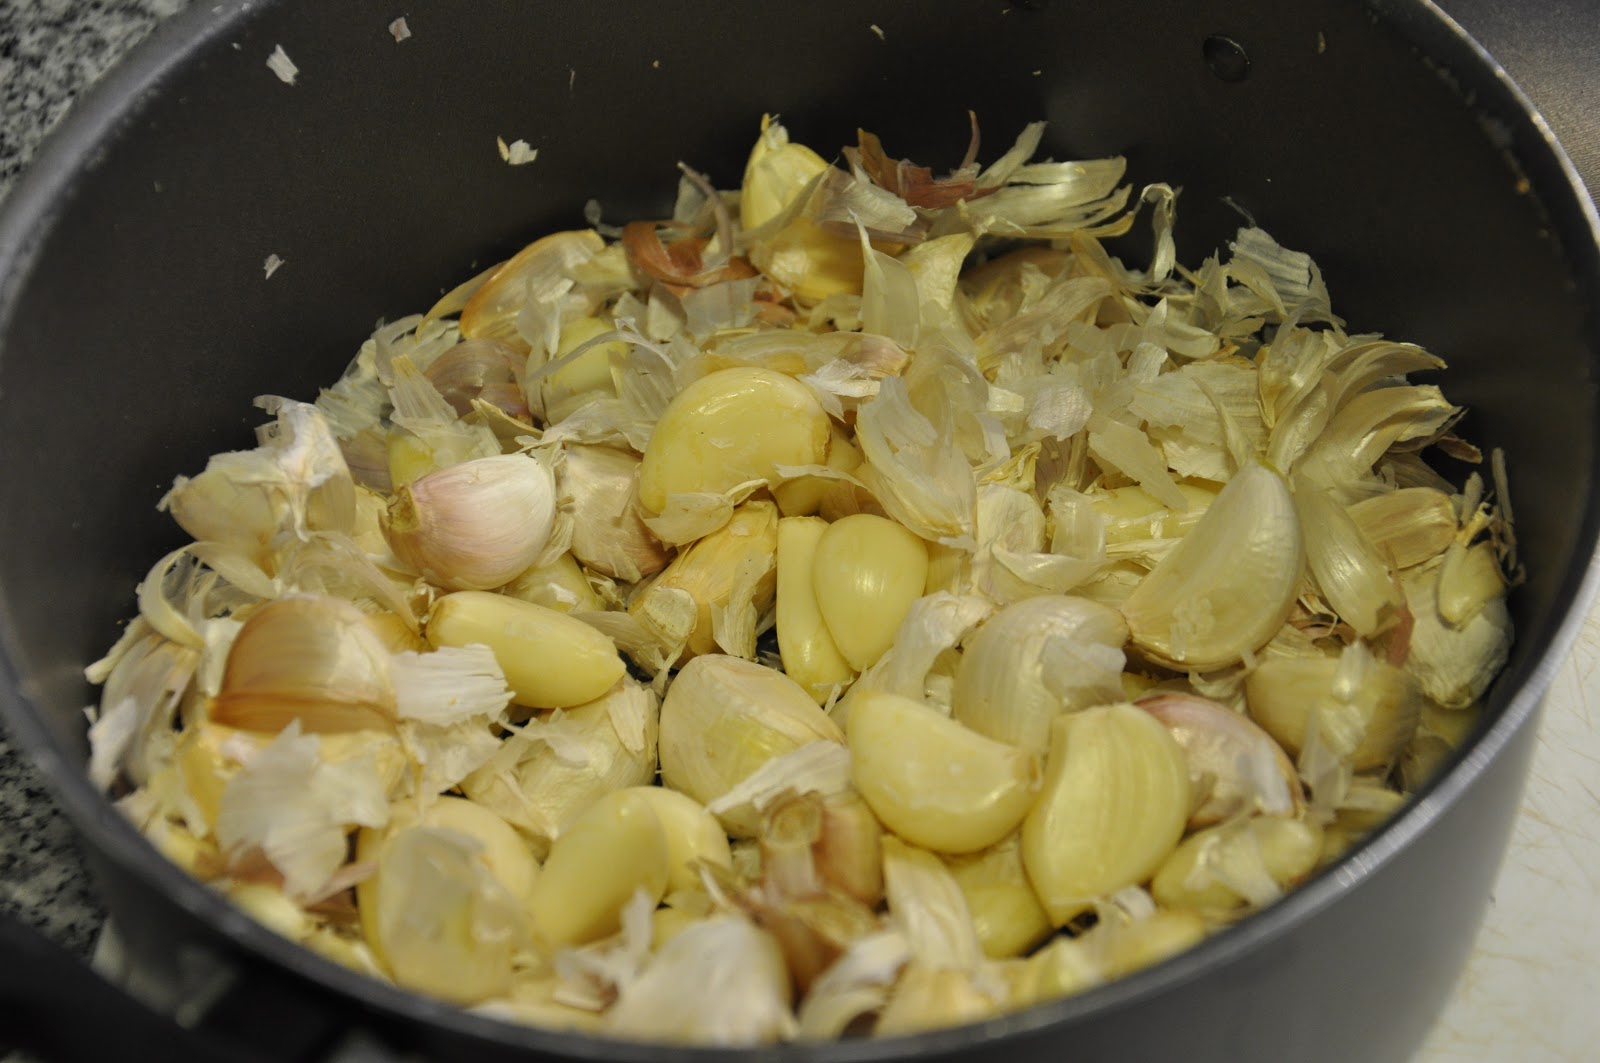
OK, hands on work. But referring to the challenge in (*1), your first question could be how in earth am I going to peel such a quantity of garlic?. First time I did it, I followed the traditional way of peeling the cloves one by one. It took me ages and it was not fun at all. But don't worry, there are solutions for everything. Thanks to sharing this recipe with other friends, one of them found an interesting technique of peeling them in seconds. Yes, it is not a typo, it is seconds. Even my Mom (an experienced cooker) did not believe me, but it amazingly works and adds some fun to the cooking and a lot of noise !! Be careful with your neighbors.

In a nutshell, you just need to put the garlic into two metal bowls and shake them hard. No, Justin, I am not taking about Bang Bang Shrimps or sex :)
Here you have a photo of my own peeling and a youtube video in case you are as skeptic as my mom.


And now? The easy part.
Once the noisy experience is completed, just put the peeled garlic in a pot with the rest of the ingredients and cook them at a low fire. Olive oil is just to make sure you cover the surface of the garlic. Thyme and Rosemary at your own taste. I use a lot since it does not harm.

Approximate time of cooking is 30 minutes.


Cook them until the garlic is tender (see pic). Let them cool down and save them in jars in the fridge as shown below.


Bruschettas
Ingredients:
1)    Bread for bruschetta (we call it country bread in Argentina but I think Cottage Loaf is the same)
2)    Roquefort cheese
3)    Rucola
4)    One clove of uncooked garlic (not the same one as above)
5)    Olive Oil
6)    And the Caramelised Garlic, of course :)

First thing is to slice the bread, use the uncooked garlic to scrape it in the bread and pour a little bit of olive oil on it as well. Then cook it in a very hot oven to make them crispy.


While waiting the bread, start cutting the cheese in cubes. Do the same with the caramelised garlic. Wash and cut some rucola.

Once the bread is ready, add the rucola, the cheese and the caramelised garlic (in this order) as you can see below. Spread some of the liquid in the jar on top for more sweet flavour and Voilá!


Ps: Ok, not my best pic here I must admit. It is the second round. I was so excited serving this during Christmas that I forgot to make the official picture of the first round that was looking much better :)

Enjoy it and thanks to Zach for encouraging me to take pics while cooking and write this down. It was a lot of fun!

Suggested soundtrack: Blackbird Album - Fat Freddy’s Drop

Sunday, February 2, 2014

Friends of MT: Mama’s Chops [Steve]

Degree of Difficulty: Layup
Prep time: None
Cook time:  30 minutes

Ingredients:
·       4 Pork Loin chops (for this recipe it is best to get cheap chops because they are usually thinner and get more tender)
·       1 packet of instant onion soup mix
·       1 can of mushroom soup mix
·       Canola oil


First wash your chops (why does that sound dirty to me?) and season lightly to taste. You don’t need much seasoning at all, as the sauce will handle the majority of the seasoning for this dish (I just use salt, pepper, paprika, and adobo).

Heat enough oil in skillet to coat the bottom of skillet (I probably put more oil than I needed in the pic below). Light fry chops, do not cook thoroughly.


Remove chops from skillet and place on a plate. Add can of soup or and about a ½ can of water to skillet.


Heat and stir till mixture is somewhat smooth it should be a somewhat thick gravy texture.


Add chops, top them with the packet of onion soup mix (I also added more water and a bit of soup in order to completely saturate the chops).


Continue simmering chops and soup mix in covered skillet over low heat, the longer the better  (as it will get more and more flavor) but it only really needs to sit until the chops are fully cooked. Feel free to stir the mix if you want and taste the gravy to make sure it’s to your liking.


When you’re all done, take the chops off and place them on a plate and cover in gravy.


We ate ours with mashed potatoes, sweet potatoes (why choose when you can have both?), and some baked asparagus in garlic sauce.


Please note we purposely only ate two of the chops and let the rest sit in the fridge.  This is one of those foods that I strongly believe taste better the next day as the chops are essentially marinating in the gravy.

Song to jam to: Outkast – “A few of my favorite things”

Friends of MT: Honey Ham Sandwich [Steve]

Drink: Honey Ham Sandwich [Steve]

Intro by Zack:

The first day Steve and I met, my former roommate Pete and I were having a drink at a party. We had brought our favorite Cognac along and Steve looked thirsty. We became friends immediately and were close ever since. By some stroke of luck (I’m not sure God would want to claim this one), both Steve and I received rotation assignments in Jacksonville, Florida and decided to live together. I think he was initially surprised at how well we got along as roommates, considering I’m a bit eccentric in the kitchen (among other things). We had a blast as roommates and he quickly established that he was the “grill man” of the house. We’d work together in the kitchen and then I’d let him handle the grilling while I prepared the sides. It worked out well and I now have weird pangs of longing for some of his steaks, burgers, or other grilled specialties.


One of my favorite memories of being in Jacksonville was when his mom came to visit and cooked pork chops for everyone. Tom and June came over for dinner and everyone enjoyed a ton of laughs and some good soul food. I can still picture the dinner in my mind. Steve has graciously provided us his own recipe for them so I can cook up a “slice of home” in Belgium.

Here are 2 of Steve's favorite things to make in the kitchen (entry by Steve):
  
I have a complex.  I’m super conscious of anything I feed to the few people who will admit to being my friends / family. You see, everyone around me makes better food than I do.

Best friend 1 (Zack):                                        CHECK
Best friend 2 (Pete):                                        CHECK
Every single Koulermos:                                  CHECK
Soon to be Koulermos (Lauren):                       CHECK
Mom:                                                             CHECK
Wife:                                                              CHECK

Essentially I am on the B team of every single person that I know who reads this wonderful website. So when Zack requested that I write some type of recipe I was a smidgen gun-shy. Sure, I have 3 maybe 4 things that I make pretty well. But beyond that I am a “guess and check” champion (meaning 50% of my food is delicious, 50% is edible …or ends up as dog food).

So for my first actual food recipe to the site I went with something super crazy easy and sticking with the theme I’ll call them Mama’s Chops (also it is loosely based on my Mom’s recipe).

And because Zack asked me to write something over a year ago it only felt right that I “contribute” two things.  So I decided to add a bonus item involving one thing I don’t think I’m too terrible at which is creating random alcoholic beverages (can you tell why Zack and Pete are my best friends) and then giving them equally random titles.

Let’ start with the drink… because you should always lead with what’s most important.

Drink: Honey Ham Sandwich [Steve]

This drink is essentially a mix of a Jack and Ginger (my go to dive bar drink), a whiskey old-fashioned (when I’m trying to keep it classy), and a touch of honey (because I’m a 9 year old boy trapped in a 27 year old man’s body). I’m terrible at measuring but I will try my best with this (sorry no pictures). Also feel free to add additional alcohol if you are a man (ehem Pete and Zack).

Ingredients:
·         Honey Whiskey (if you don’t have it use regular whiskey and honey)
·         Lemon juice
·         Orange Bitters
·         Ginger ale
·         Ice

It’s super easy. Just pour the following in a shaker
·         4oz (2 double shots) of honey whiskey.
o   If you don’t have honey whiskey or want to be classy use regular whiskey and 2 T of honey (or more if you like sweets) to the shaker.  
§  Adding additional whisky would not be frowned upon.
·         2 dashes of orange bitters in the glass (if you’re feeling fancy you can you grate some orange grind)
·         1 dash of lemon juice
·         Fill remaining shaker with ice.

Shake all of that together. Put a couple of cubes of ice in an 8 oz glass. Fill the glass about halfway with your mix (leave the rest in the fridge for seconds). Pour about a shot or 2 of Ginger ale over the beverage. Then stir and enjoy. Note you can pretty much change any of these ingredients to scale it to your taste…

Song to jam to: Ying Yang Twins – “Shake” (I defy you not to dance to this awful song)

Saturday, February 1, 2014

Friends of MT: Pete Patel's Spicy Chili [Pete]

Intro by Zack:

As a first entry to the “Friends of Mama Tommys” page, it’s appropriate to have someone very close to me post.  Pete and I were roommates for 3 years while we worked together in New Jersey.  He is one of my best friends and was a blast to live with.  Always up for a cooking adventure, we had some really fun dinner parties (and Wacky Wine Wednesdays).  We both learned a lot together in the kitchen and he taught me quite a few tricks.  My BBQ ribs would probably still be average if he had not taught me his methods.  Also, I attribute my ability to eat very spicy food to him.  I remember going through bottles of sriracha like it was ketchup – adding it to everything from eggs in the morning, to stir fries at night.  His training paid off – when our lease ran out and his parents took both of us in (while I was in transition to Europe for 3 months), his mom didn’t back off on the spice in her daily meals.  That was a huge compliment!

One night, Pete, Lauren and I had a chili contest.  We invited over about 15 friends, told them to bring some beers, and each of us made our favorite chili recipe.  Pete’s chili was spicy (as always) and a crowd favorite for sure.  He's been gracious enough to share his recipe with everyone.


Here is Pete's recipe from that night:


I am a two trick pony when it comes to cooking; I know ribs and Chili. To try and keep pace with the excellent smorgasbord of recipes on Mama Tommy’s I have to bring what I know best (Sorry it is going to be the Chili, the ribs perhaps another time). I will caveat my style of cooking by saying that when I cook I am never able to recreate the same thing twice due the fact that I blackout when I add the spices. That being said, please feel free to adjust the spice section to your taste, as the recipe is more of a base chili guide and the spices are bells and whistles.

Process

Start off by opening one of the beers and taking a sip. Now that we are on the way you can start by cooking all three meats. I usually start with the beef, then the Sausage, and then finish off with the Bacon. Once the bacon is done I put them back on the cutting board and dice them into smaller pieces.


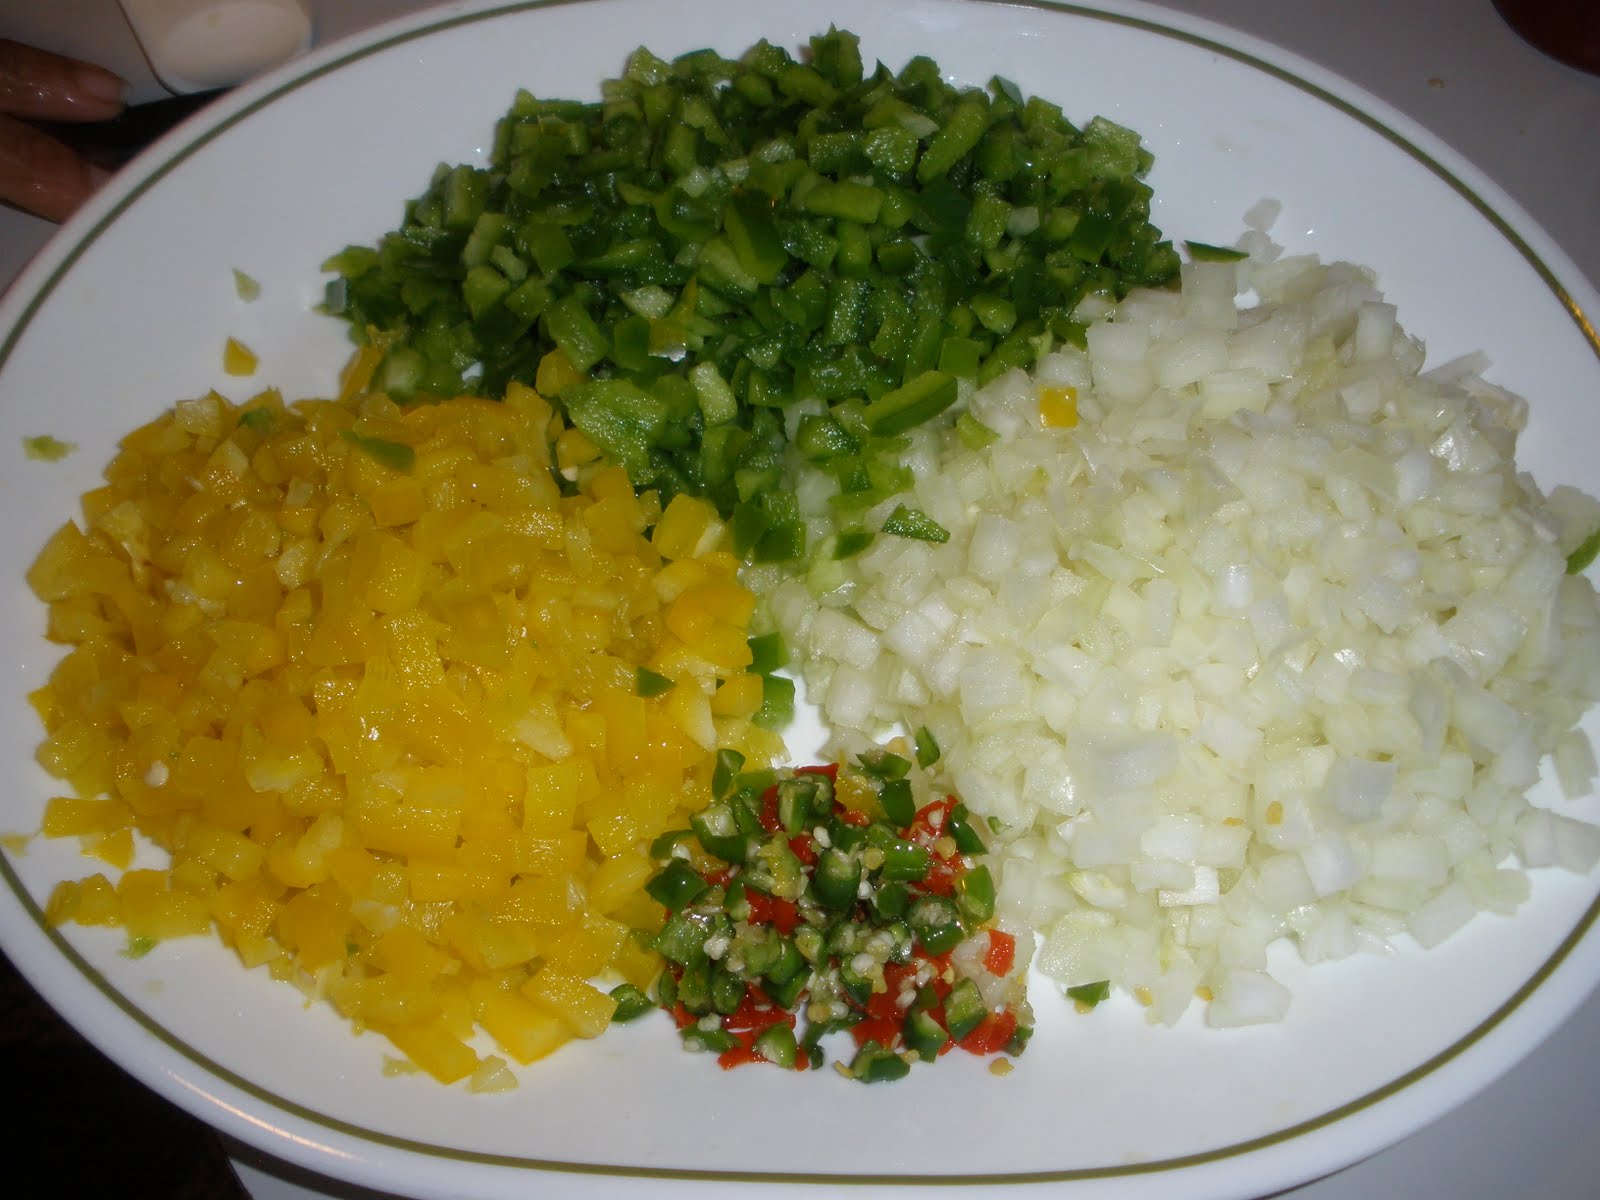
While the meats are cooking I start to dice the onions, peppers, and Chilies.  


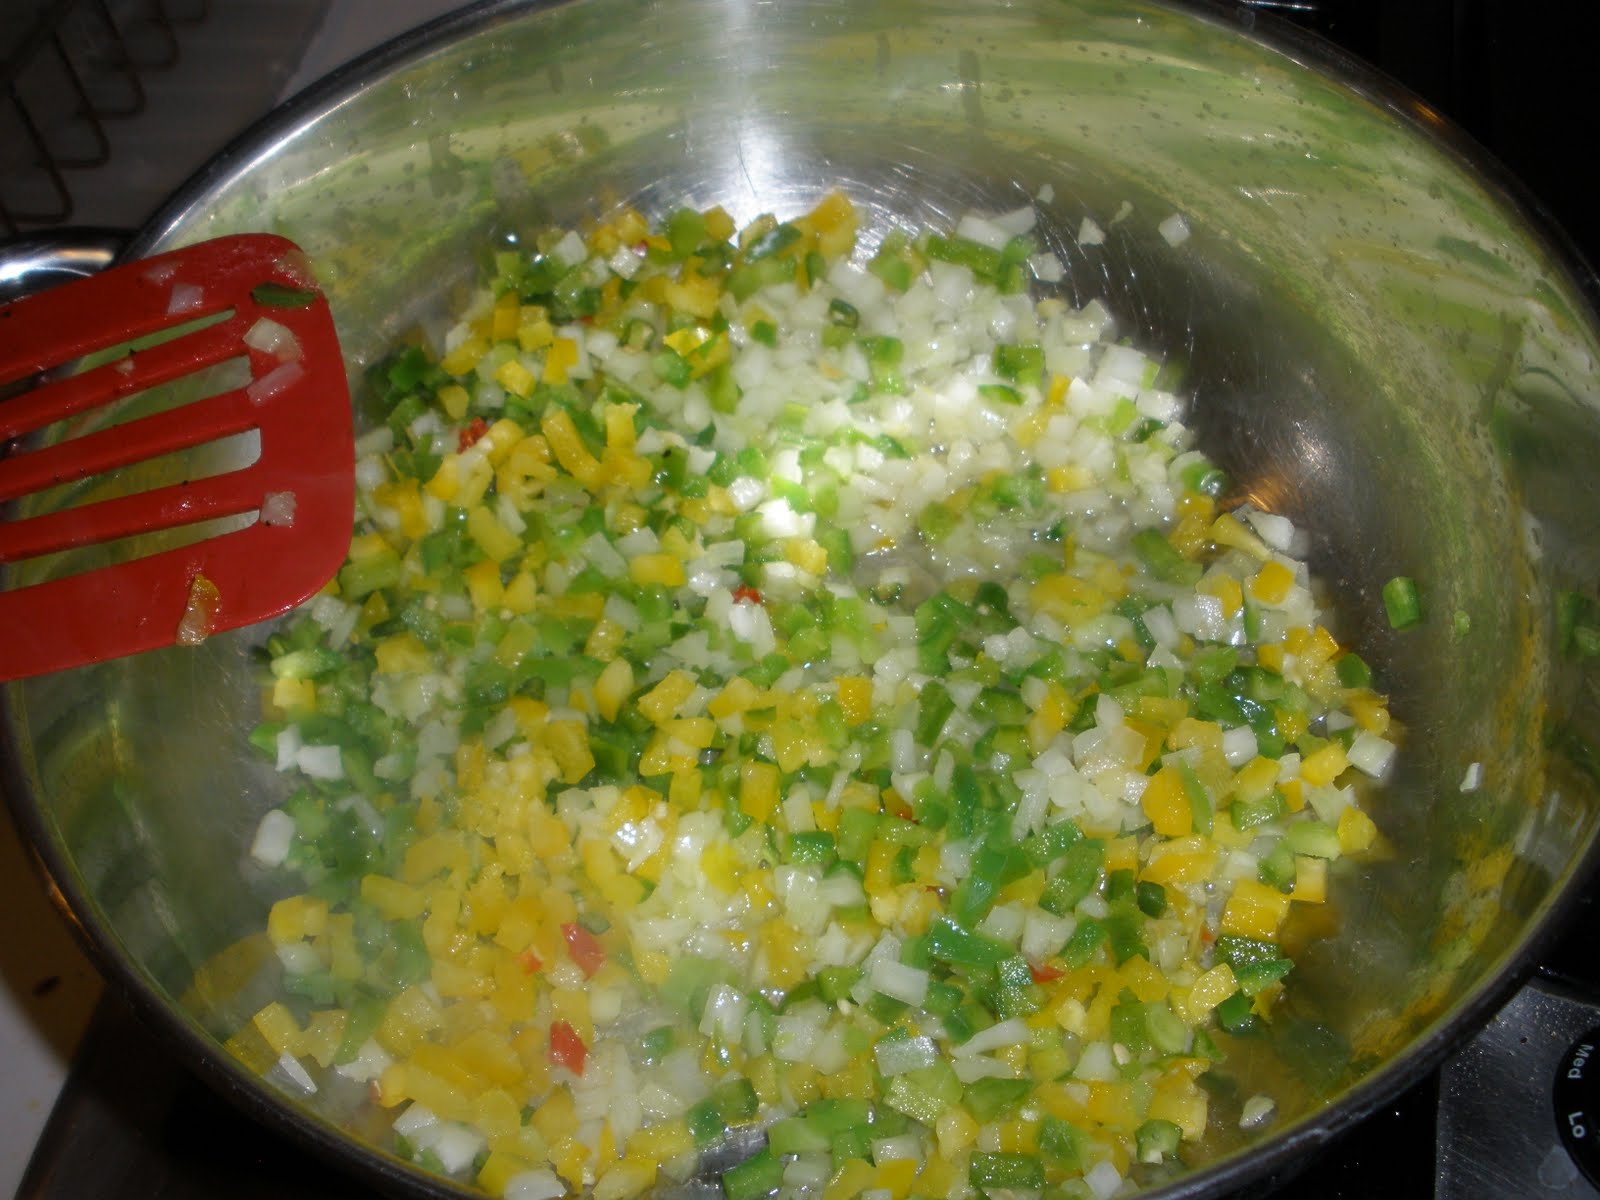
Once the meats are done cooking we can begin to construct the chili. We start a large pot on the stove at medium heat with a little bit of olive oil inside. Once that gets hot enough I add the diced onions, peppers, garlic, and chilies and let them begin to cook. I stir occasionally and let them cook for 3-5 minutes, before moving the next step.


By this time you should at least be done with one of your beers, if not man up and finish the one you started (chug if you have to) then open up the second beer and start sipping.

For the next step, you can begin with adding some beer into the pot but I recommend a very small amount (1/4 of the bottle) just to give the chili some of the flavor.  Now that the veggies have been cooked I add the tomatoes (not the sauce), meat, and beans at this point. Let them heat up together with the veggies for another 3-5 minutes stirring frequently.


Next, I start adding the Sriracha sauce, spicy chili powder, any other spices you want (the ones I put in are pictured below), and tomato sauce. The reason you wait to add the tomato sauce until this point is that the chili will naturally start to create their own juices as the veggies cook. By adding the tomato sauce after everything goes in you can control the “sauciness” of the chili. I personally like it more meaty and chunky, but if you like it saucy, you can do the needful with the tomato sauce.


At this point you are basically done, turn the heat down a little bit and let the chili cook itself and reduce for 10 -15 minutes. Also your second beer should be completed by this point as well, if you haven’t completed it, your desire is in question.

When you are ready to eat put the chili in a bowl and just drop the coriander, chips, and some Cheese on top.

Ingredients
1 Pound Ground Beef
1 Pound Hot Italian Sausage
6 Strips Bacon
1 Green Pepper
1 Yellow Pepper (Or Red Pepper, or whatever color of the rainbow Pepper you like)
1 Yellow Onion
1 Cup Beans (or 1 can of beans)
Garlic powder (or actual crushed garlic)
3 Tomatoes (or Canned Diced Tomatoes)
2 Cans Tomato Sauce
Lemon Pepper
6 Birds Eye Chili’s
Sriracha Sauce
1-6 Tablespoons Spicy Chili Powder (not paprika, this has to have a kick; we buy from the Indian Store)
Coriander
Shredded Pepper Jack Cheese
Chips/Crackers/Cheese-its
2 Beers

Music track: “Low Rider”  by  War
Serving Size: Your family and then some